Welcome to Bike Boost
Commute, Compete, Enjoy!
Top Buying Guides
-
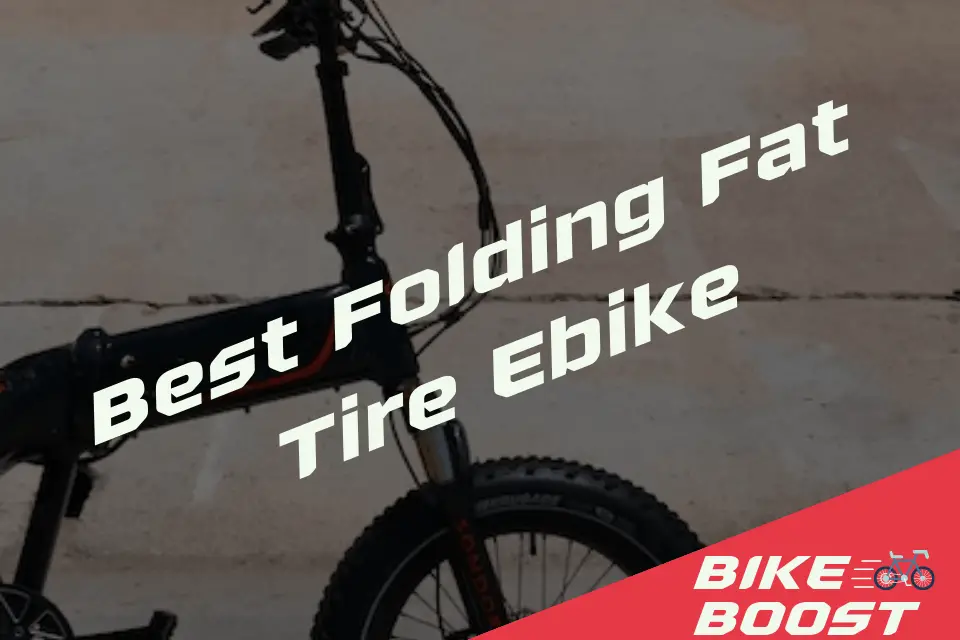
7 Best Folding Fat Tire Electric Bikes In 2023
Discover the best folding fat tire electric bike for your adventures. Find budget-friendly options, consider off-road capabilities, and make an informed choice.
-
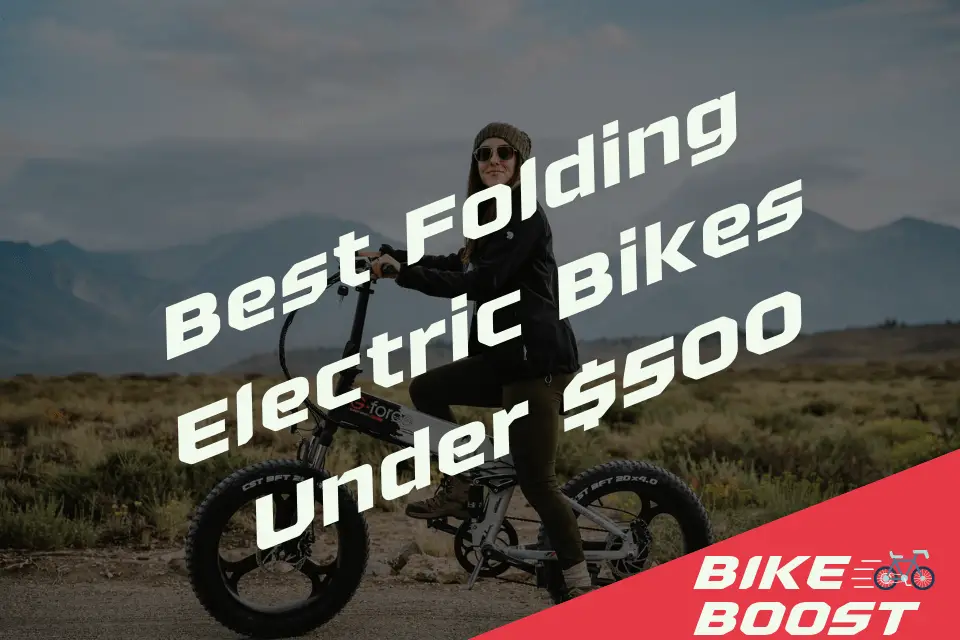
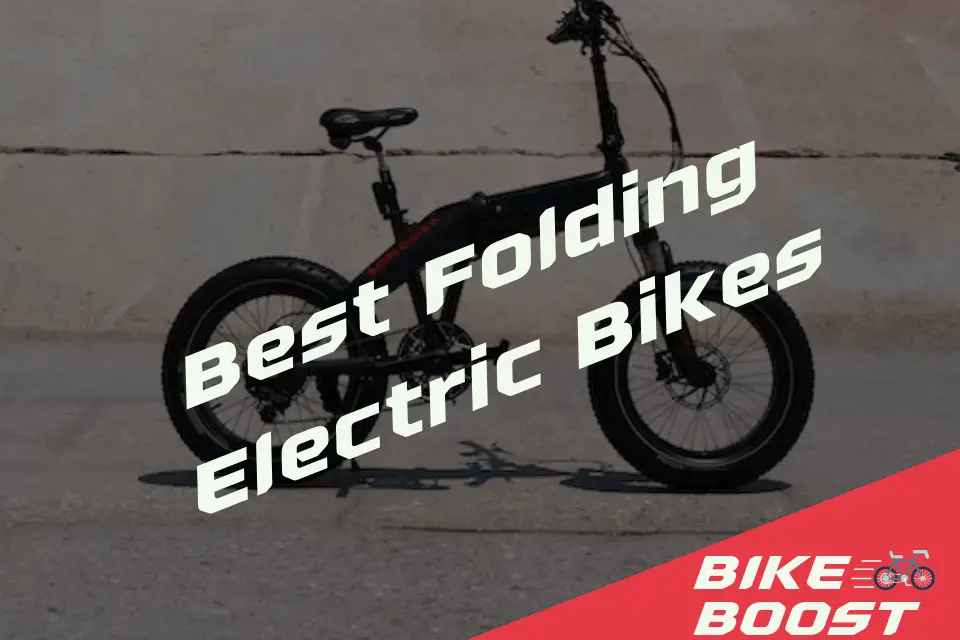
Best Folding Electric Bikes Under $500 | Budget Folding Bike Top Picks
Discover the best folding electric bikes for under $500. Find affordable, foldable, and reliable ebikes for convenient commuting and versatile rides.
-
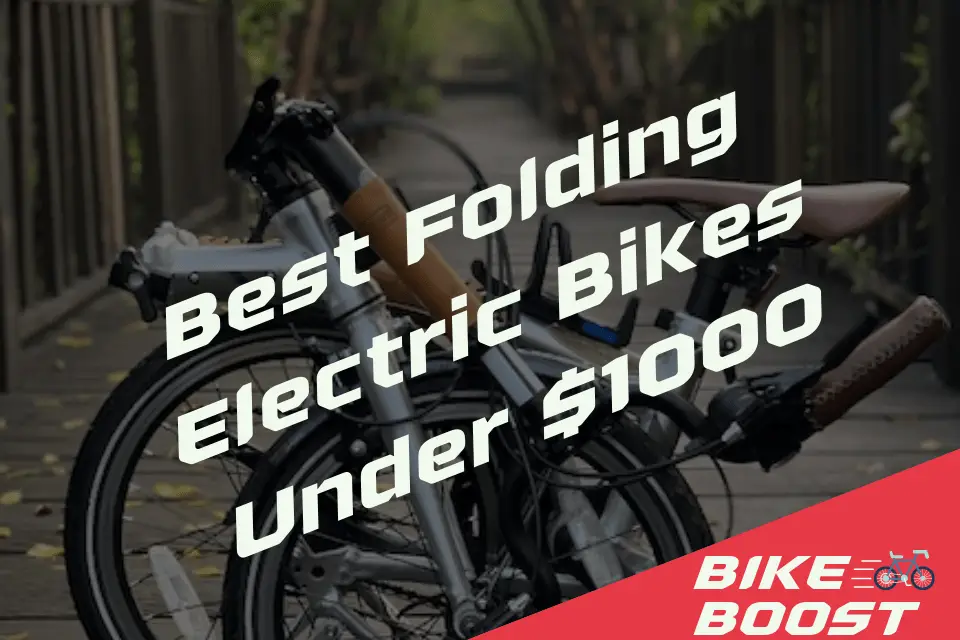
Best Folding Electric Bike Under $1000
Discover the best folding electric bike under $1000 and make your commuting convenient and affordable. Explore top models, features, and tips to maximize your riding experience.
-
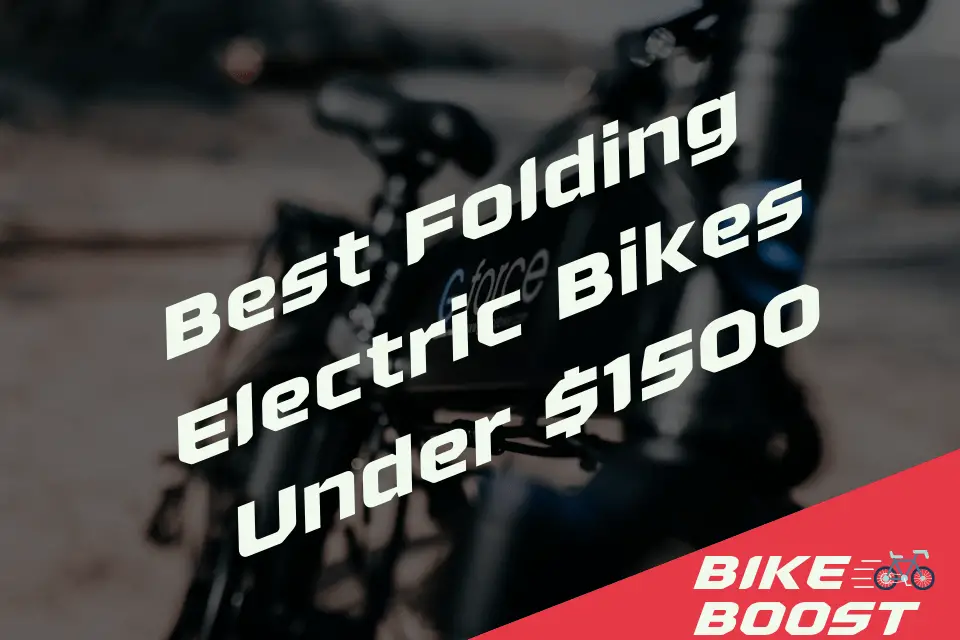
Best Folding Electric Bikes Under $1500
Discover the best folding electric bikes under $1500. Read our comprehensive guide to find the perfect combination of price, features, and quality for your needs.
-
Best Folding Electric Bikes of 2023
Discover our picks for the best folding electric bikes of 2023 and choose the perfect ride for you. Get the best folding e-bikes for your needs.
-
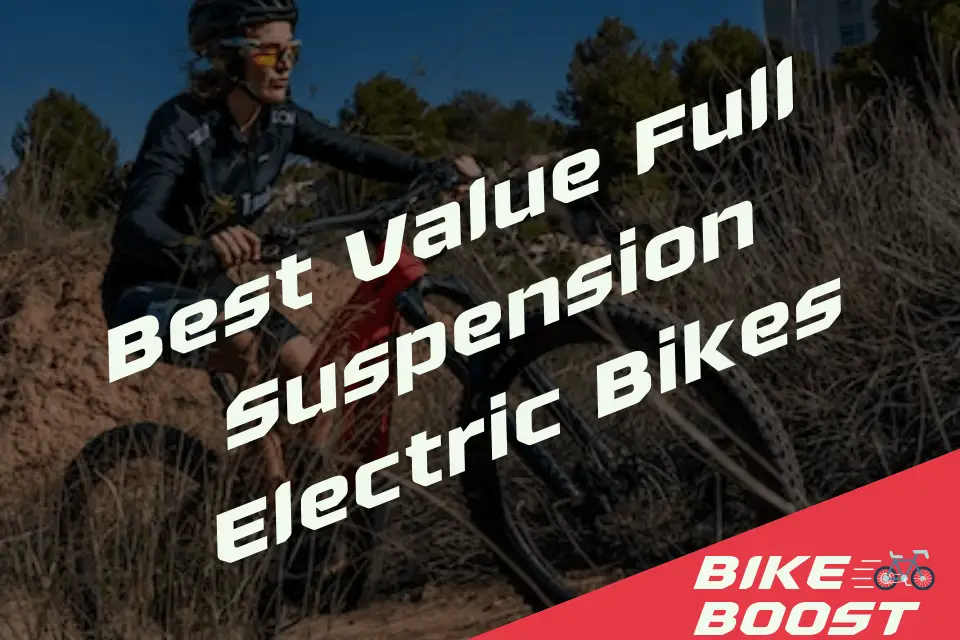
Top 5 Best Value Full Suspension Electric Mountain Bikes | Best Budget e-mtbs
Discover the best value full suspension electric mountain bikes that offer comfort, control, and affordability. Find your perfect e-mtb today!
-
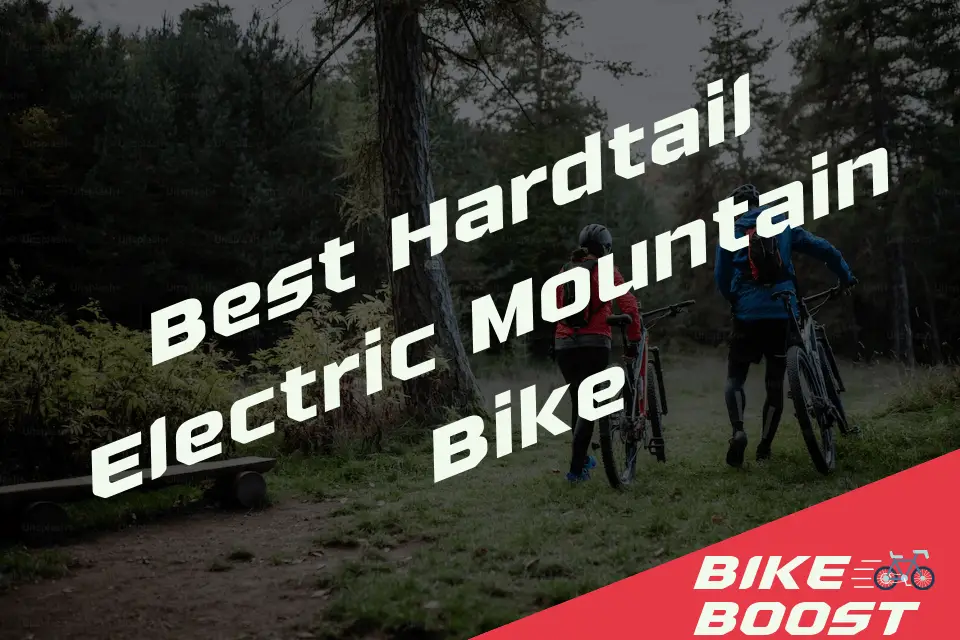
5 Best Hardtail Electric Mountain Bikes
Discover the best hardtail electric mountain bikes on the market. Find the perfect e-mtb for your off-road adventures.
-
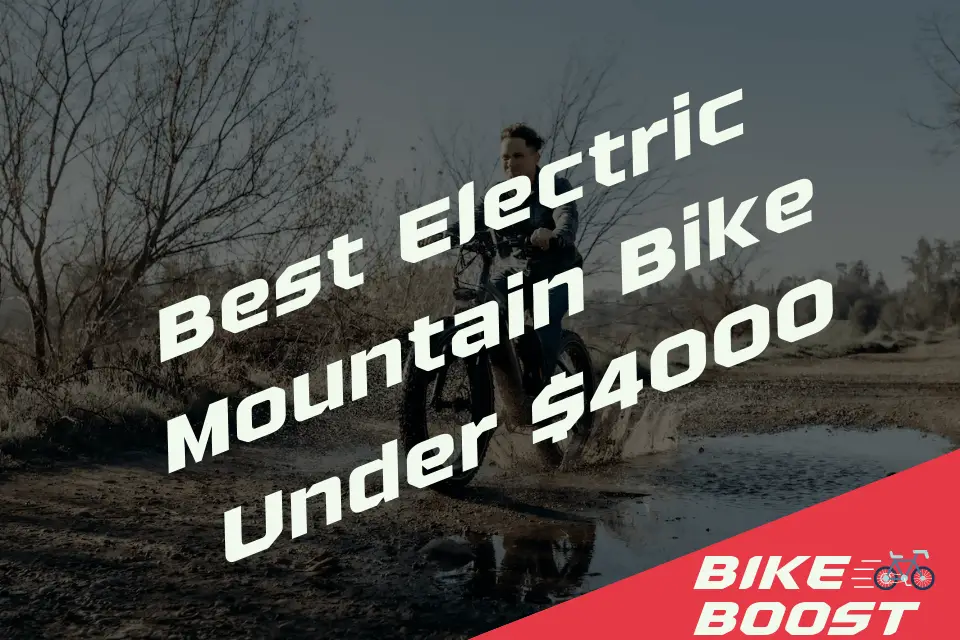
Finding Your Perfect Ride: Best Electric Mountain Bikes under $4000
Discover the best electric mountain bikes under $4000. Find expert advice, compare features, and choose the perfect affordable electric mountain bike for your adventures.
-
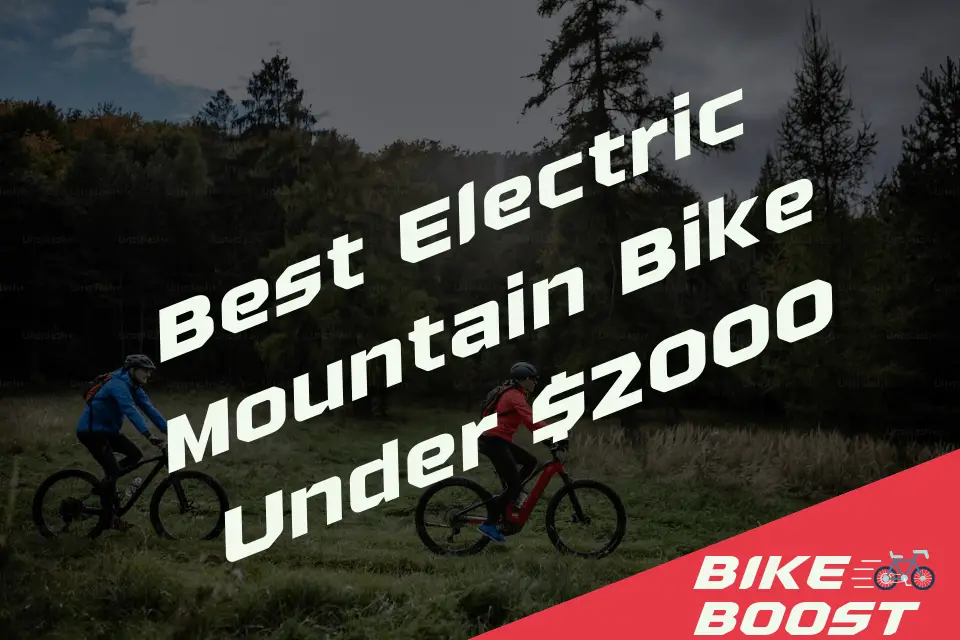
Best Electric Mountain Bike Under $2000
Find the best electric mountain bike under $2000. We provide expert advice, top picks, and key factors to consider when choosing your ideal e-mountain bike.
-
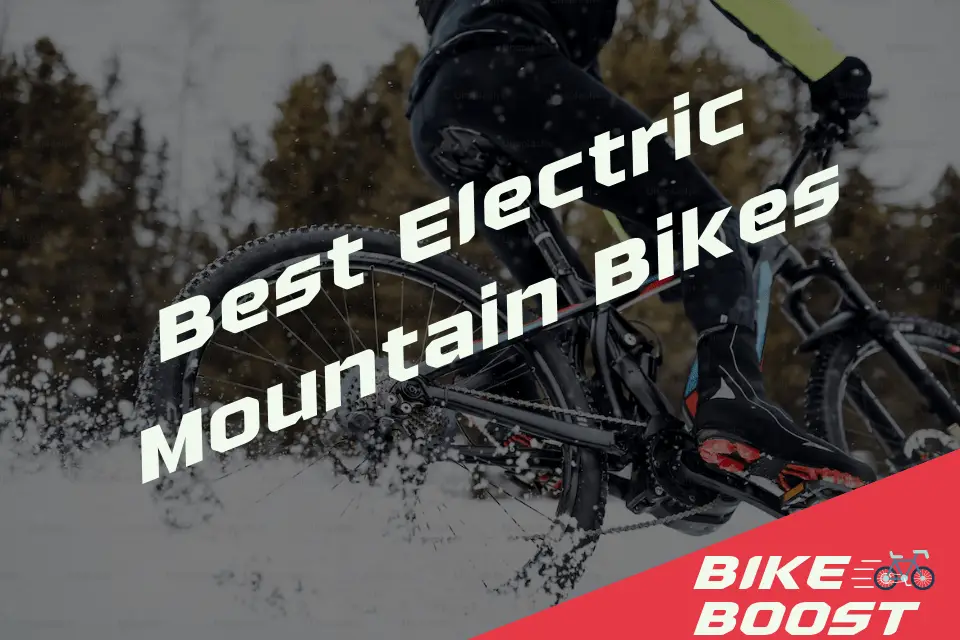
Unleashing Adventure: Exploring the 12 Best Electric Mountain Bikes
Discover the best electric mountain bike for thrilling off-road adventures. Explore motor power, battery life, suspension, and frame materials. Find your perfect e-MTB today!
About Us
Bike Boost is a family run business, dedicated to bringing you quality guides to help you learn more about your bike and get out riding.
Affiliate Disclosure
We love writing guides for you and sometimes we are compensated when you use one of our links to buy a product. This doesn’t impact the price you pay. If you want to learn more about how this works, visit our Affiliate Disclosure page.
Our Buying Guide Pages
Our FAQ Pages
List of Bike Guides
Best Fat Tire Bikes for Touring
Best Fat Tire Bike Under $2000
Best Fat Tire Bike Under $1500
Best Fat Tire Bike Under $1000